Installation instructions for Wall & Mosaic Tiles
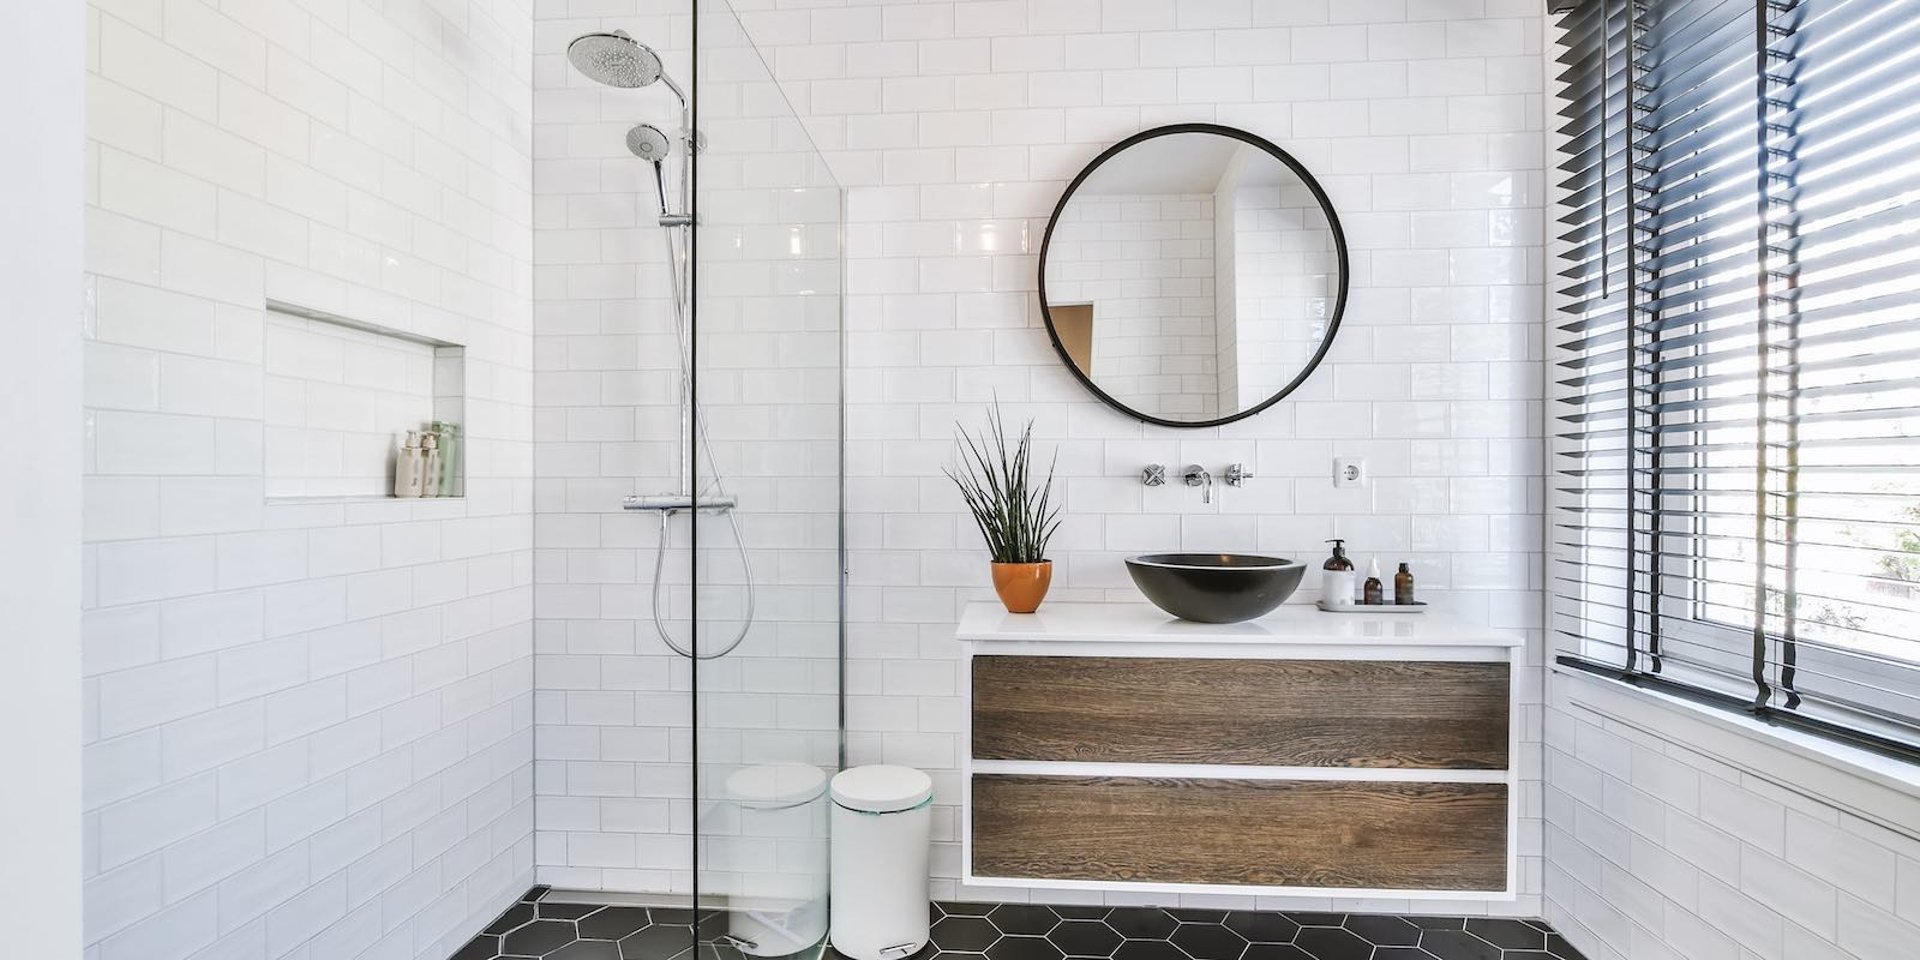
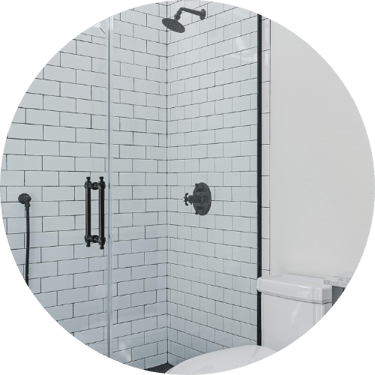
Glazed porcelain tile is suitable for interior & exterior wall or flooring applications including wet areas and demanding environments such as steam showers.
Inspect all product prior to installation for any visible defects or unacceptable color/shade variation. Confirm the caliber and dye lot shade, all packaging is clearly marked with shade (overall color tone) and caliber (allowable size variation). It is not recommended to mix dye lots or calibers. Claims are not accepted after installation.
Substrate should be clean, free dust & particulates and adhering to TCNA’s 09300 Handbook.

Easy steps for wall & floor tile installation
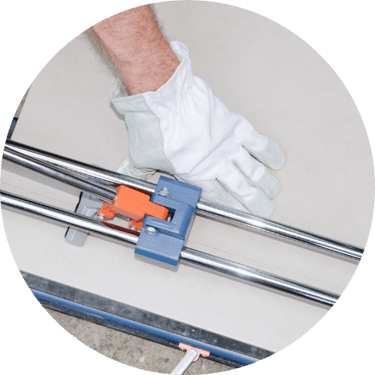
Cutting tiles
Use a tile cutter (score & snap) with a new diamond wheel for best results when cutting our stone and porcelain material. Wetting the diamond wheel with oil before cutting will produce the smoothest cuts. Alternatively, it is also possible to use a wet-saw or angle grinder with a new diamond blade specifically designed for cutting porcelain. Any exposed cuts should be done with a wet saw to produce the cleanest and smoothest cut edge. Cut edges and corners will be sharp. Always be sure to smooth cut edges manually with a diamond hand pad or ceramic dressing stone.
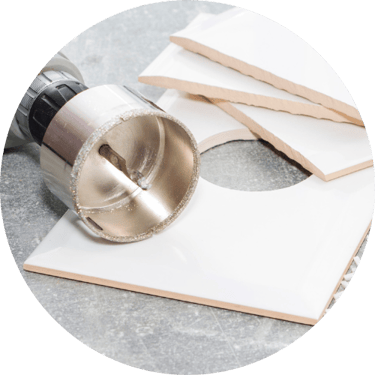
Drilling tiles
If possible, drill holes before installing tile. Using a new diamond coring bit (for large holes) or spade bit (for small holes) will give the best results. Lubricating the bit and tile surface with a continuous spray of oil/water mix will prolong the life of bits and provide a better-finished edge. When possible, the use of a jig will ensure precise placement of holes to be drilled. When drilling holes for anchoring bolts, plumbing or any other dissimilar material always ensure a minimum of 1/8" (3mm) clearance around the item is provided to avoid cracking due to disparate expansion & contraction rates or stress transfer.
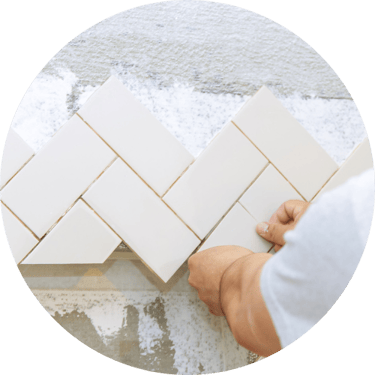
Setting tiles
When setting porcelain wall tiles & mosaics it is recommended to use polymer or latex modified thin set compliant with ANSI standard A118.4. For ceramic wall installations, a non-sag mortar is preferred. In exterior installations ensure an exterior rated mortar is specified. In dry area installations mastics can also be used.
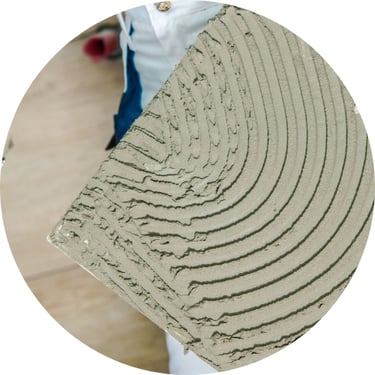
Suggested size of trowel to use for applying the thin-set:

Bonding tiles
To ensure a good bond and proper mortar coverage all tiles should be “back-buttered” by applying a thin layer of mortar directly to the back of the tile with the flat side of the trowel.
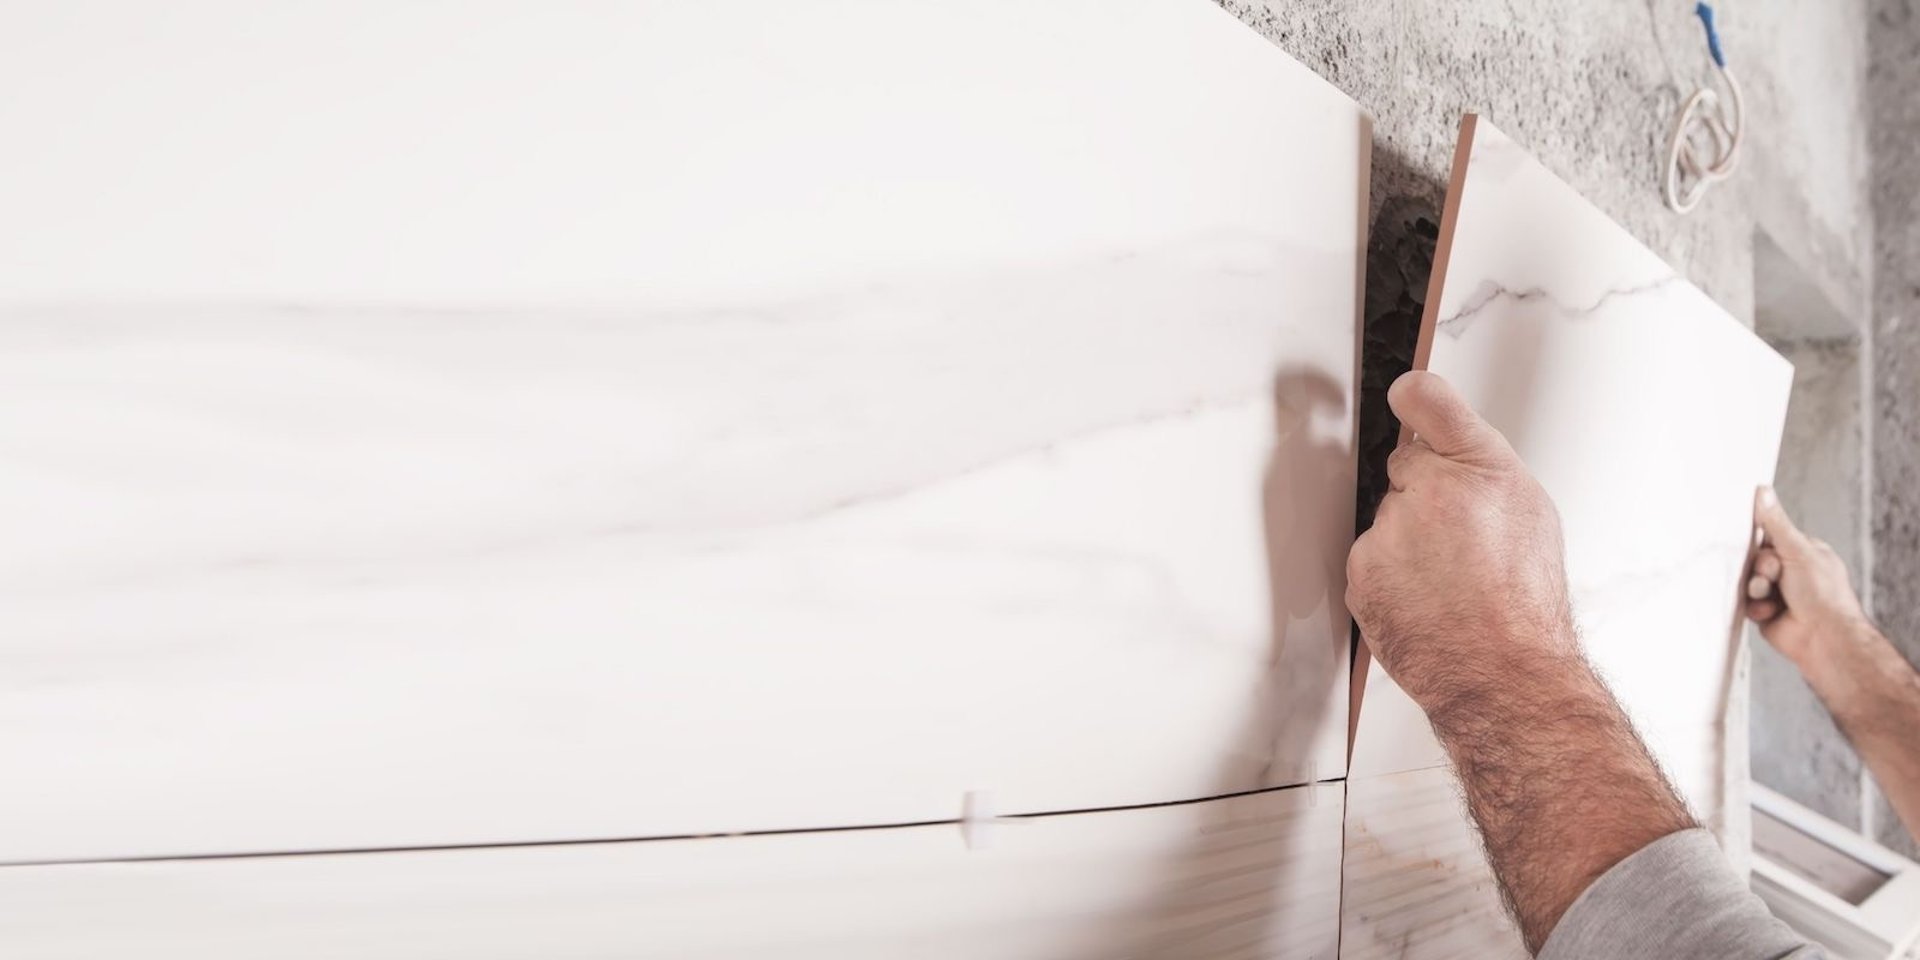
It is recommended to offset the installation of mosaic sheets, to avoid possible spacing differences between the mosaics pre-mounted on the mesh sheets and the joints between the sheets.
When setting basalt stone tiles we recommend to use a polymer or latex modified thin set. For a good bond, apply a thin layer of mortar directly to the back of each tile with the flat side of the trowel. For walls use a non-sag mortar.
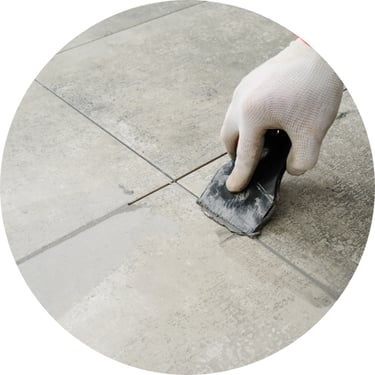
Grouting tiles
Before grouting, allow the mortar base to dry for 24 to 48 hours. Non sanded or fine-aggregate grouts are recommended for less than 1/8” or 3mm joints. If joint width is larger, a sanded grout must be used. When grouting polished unglazed formats or glossy glazed formats with sanded grouts, gentle application of grout with a soft rubber float is recommended to minimize the possibility of surface scratching. A "mock-up" or testing installation should be executed to ensure results are acceptable. Epoxy grouts or adhesives can be used when stain resistant installations are required.

Removing excess grout
After grouting, wipe off excess surface grout with a slightly damp sponge, do not over wash. After initial wash has been allowed to haze, wipe once with minimal pressure at a 45-degree angle to joints and rinse sponge after wiping once with each side. Any remaining haze can be buffed off with a dry towel or cheese-cloth after grout surface has dried sufficiently.
Basalt tiles must be treated with a specialist Natural stone sealer to protect the porous surface.
Finishing tips
Care should be taken to place requisite non-cementitious expansion joints in any glass installation to allow for normal expansion and contraction of the material and preservethe installation from stress fractures. Many grout manufacturers will make urethane or silicone based products to match cementitious grouts for this purpose.
Expansions joints should be placed in areas such as (but not limited to); tile meeting a dissimilar material; any change of plane (like counter to backsplash or floor to wall);and around perimeters of installation.